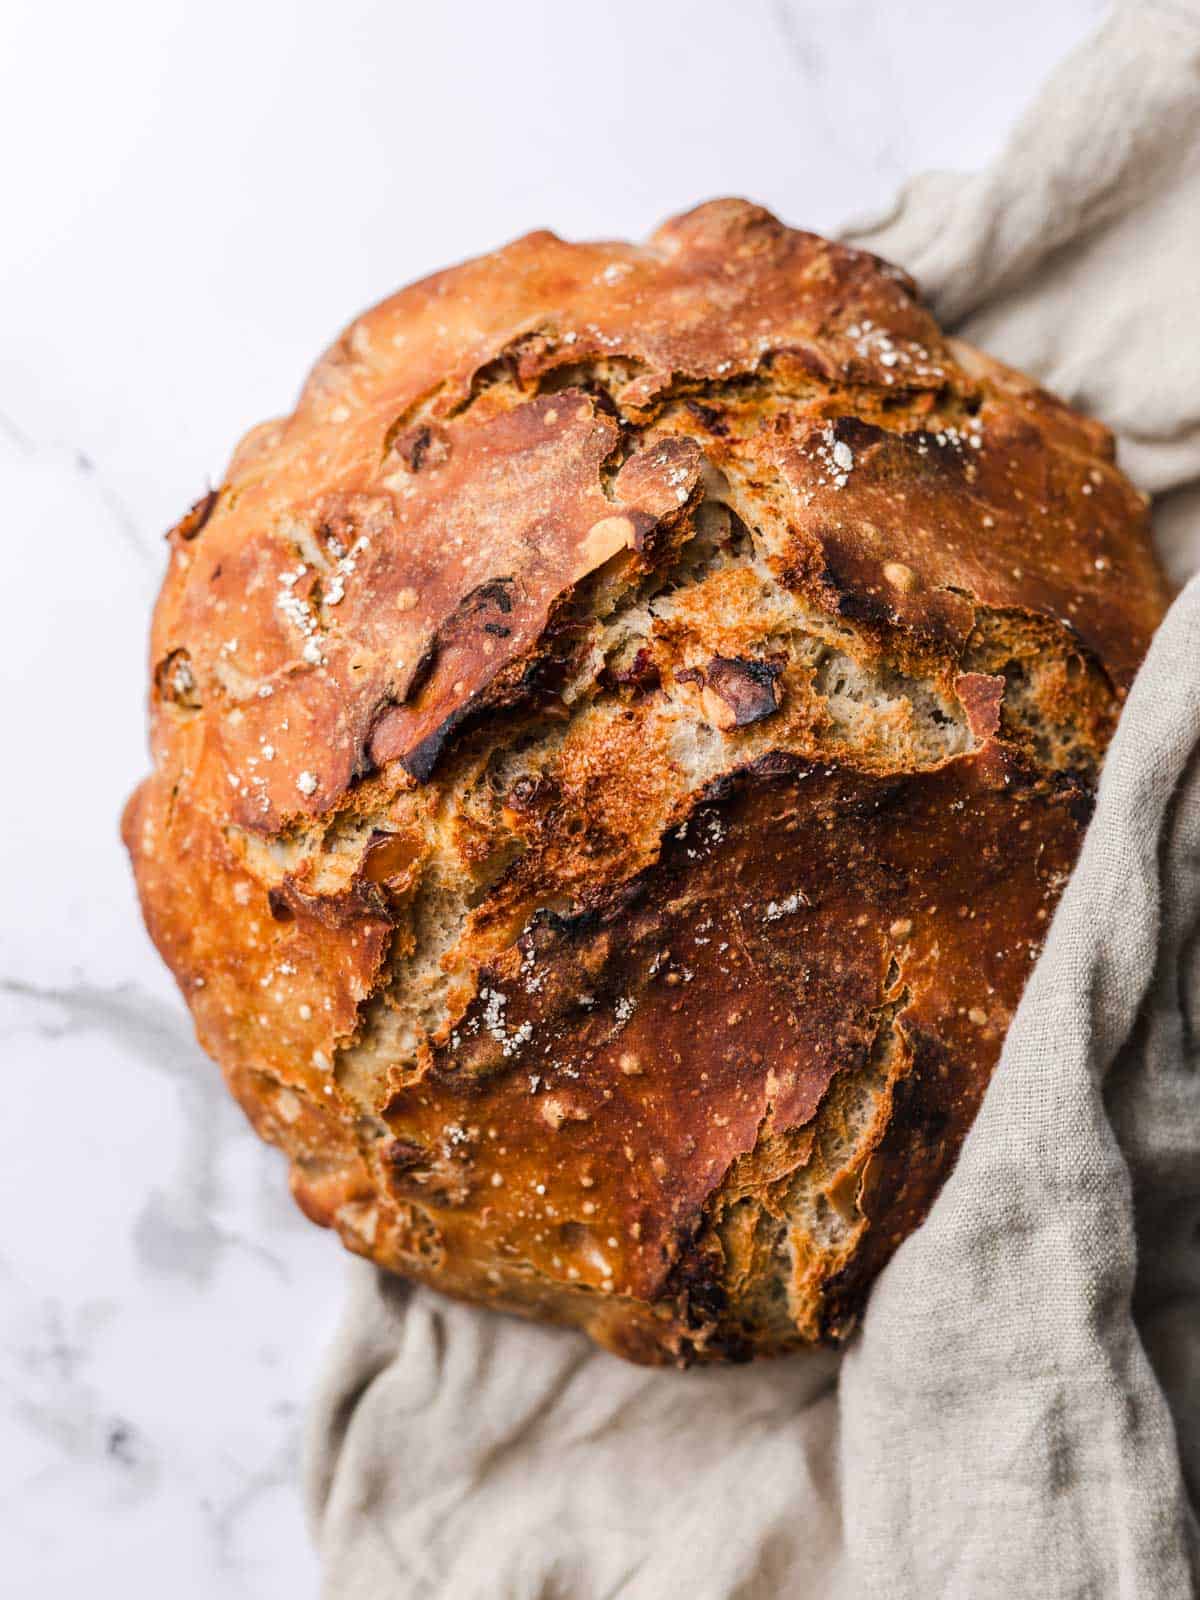
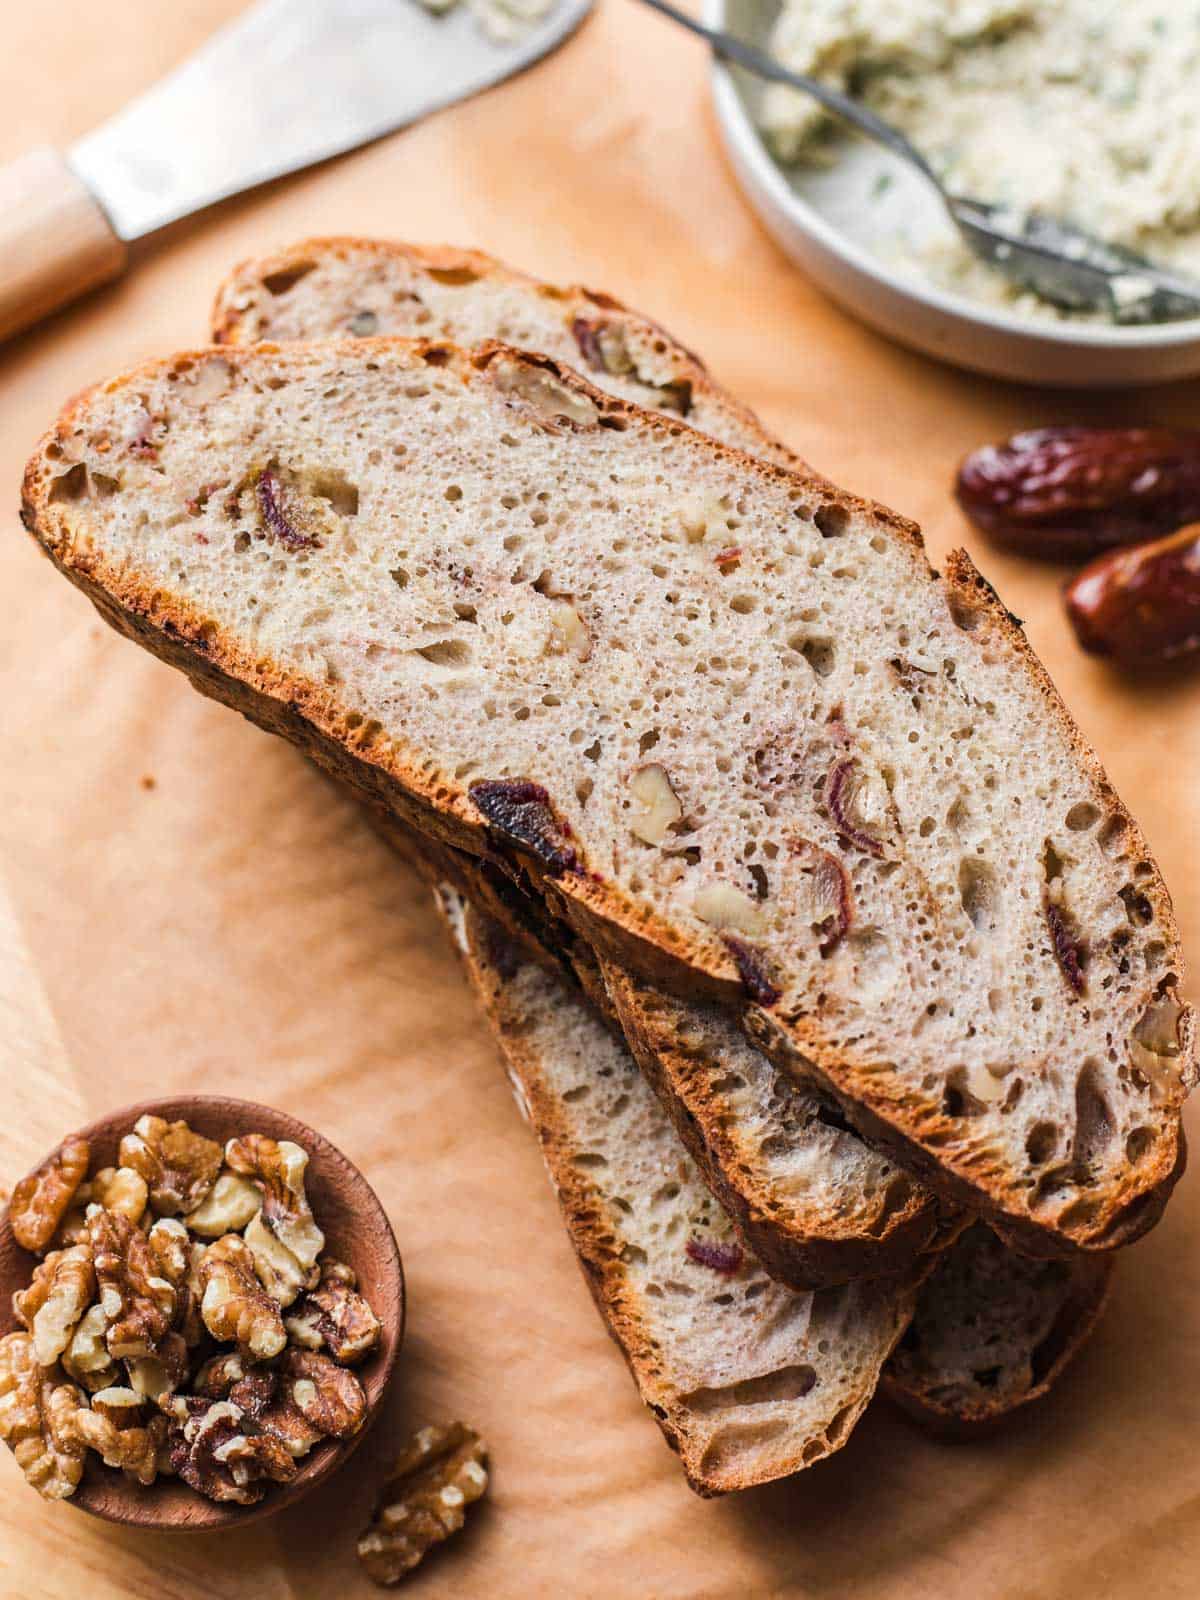
A crusty loaf with a soft, tender crumb, packed with walnuts and sweet dates — this no-knead date walnut bread made with spelt flour is wonderfully simple, requires zero kneading, and is perfect for a cozy weekend breakfast.
If you’ve ever been to Berlin, you might know Zeit für Brot — a bakery famous for organic breads and pastries. My husband and I never leave without their walnut date bread. Unfortunately, we don’t get there very often … so I decided to recreate it at home.
Unlike the bakery version, I intentionally skipped the sourdough. Don’t get me wrong — fresh sourdough bread is unbeatable. But this time, I wanted something simple and spontaneous. Something you can mix together on a Saturday evening, let rise overnight, and bake fresh on Sunday morning.
And that’s exactly how this vegan no-knead walnut date bread was born. No kneading. No sourdough starter. Just a simple yeast-based spelt bread that bakes up crispy on the outside, fluffy on the inside, and beautifully aromatic thanks to the nuts and dates.
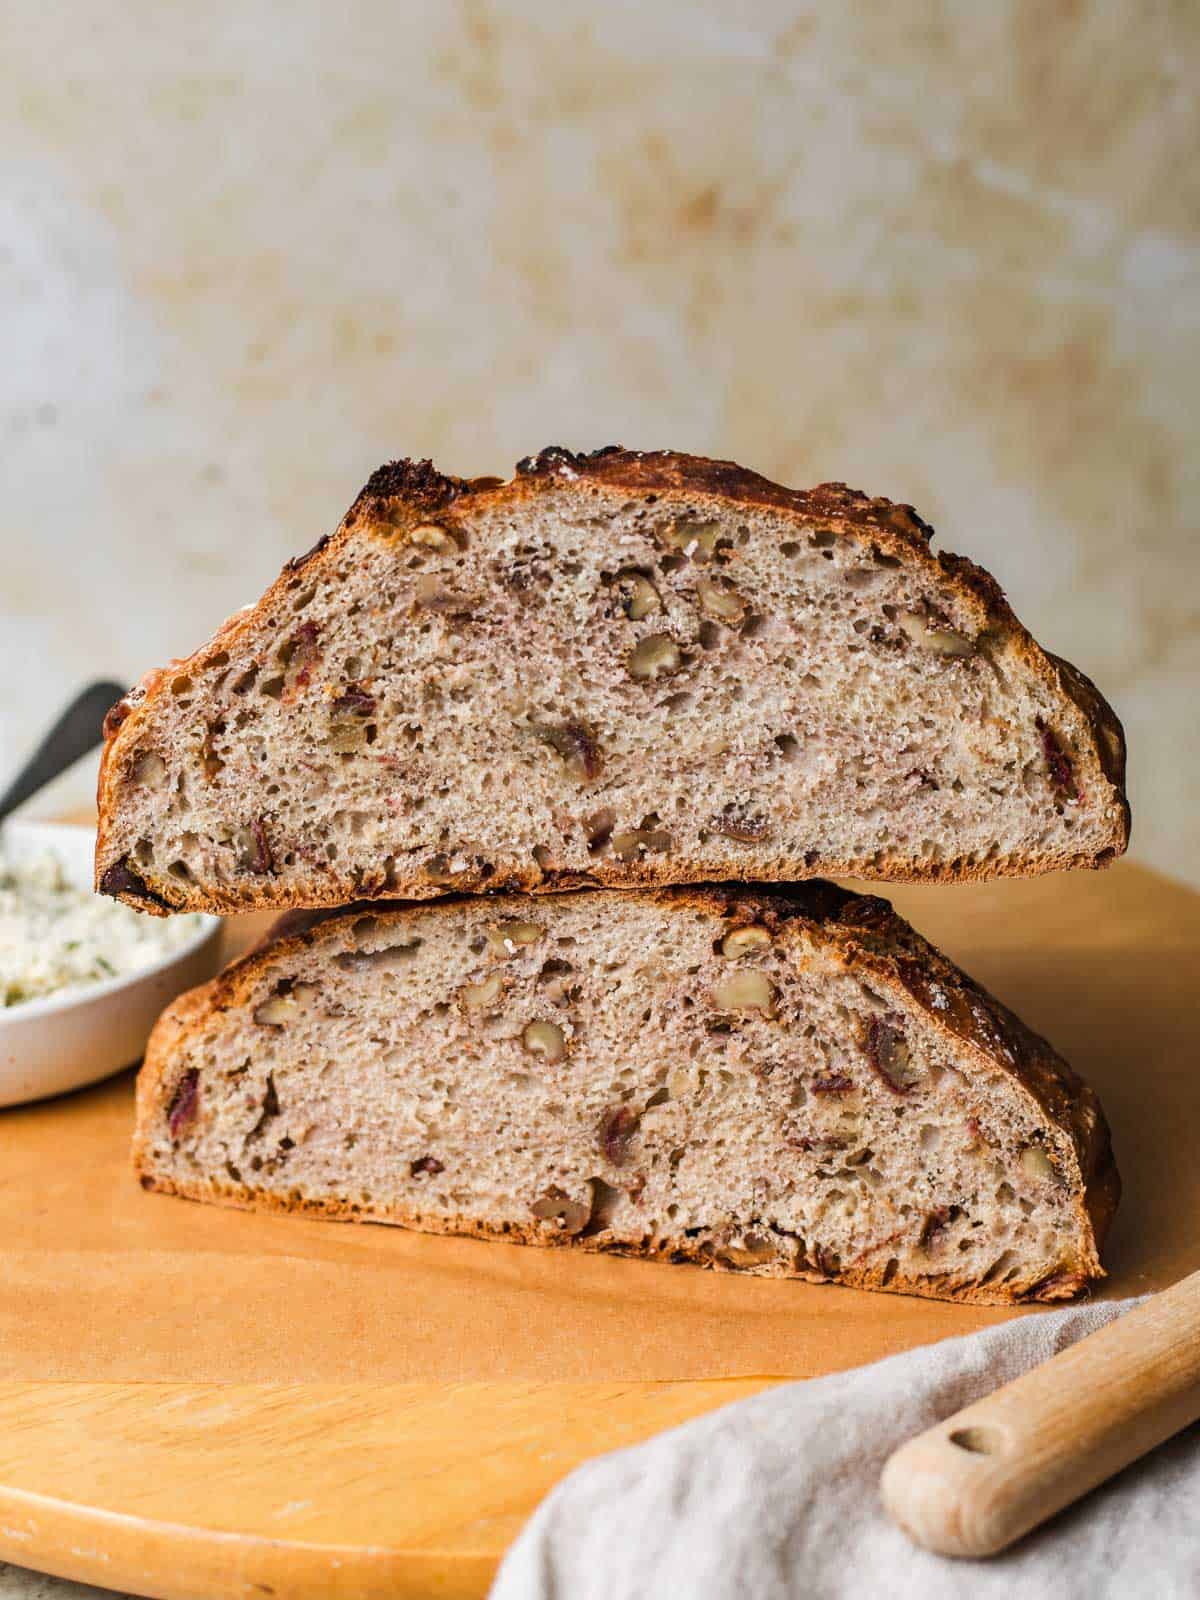
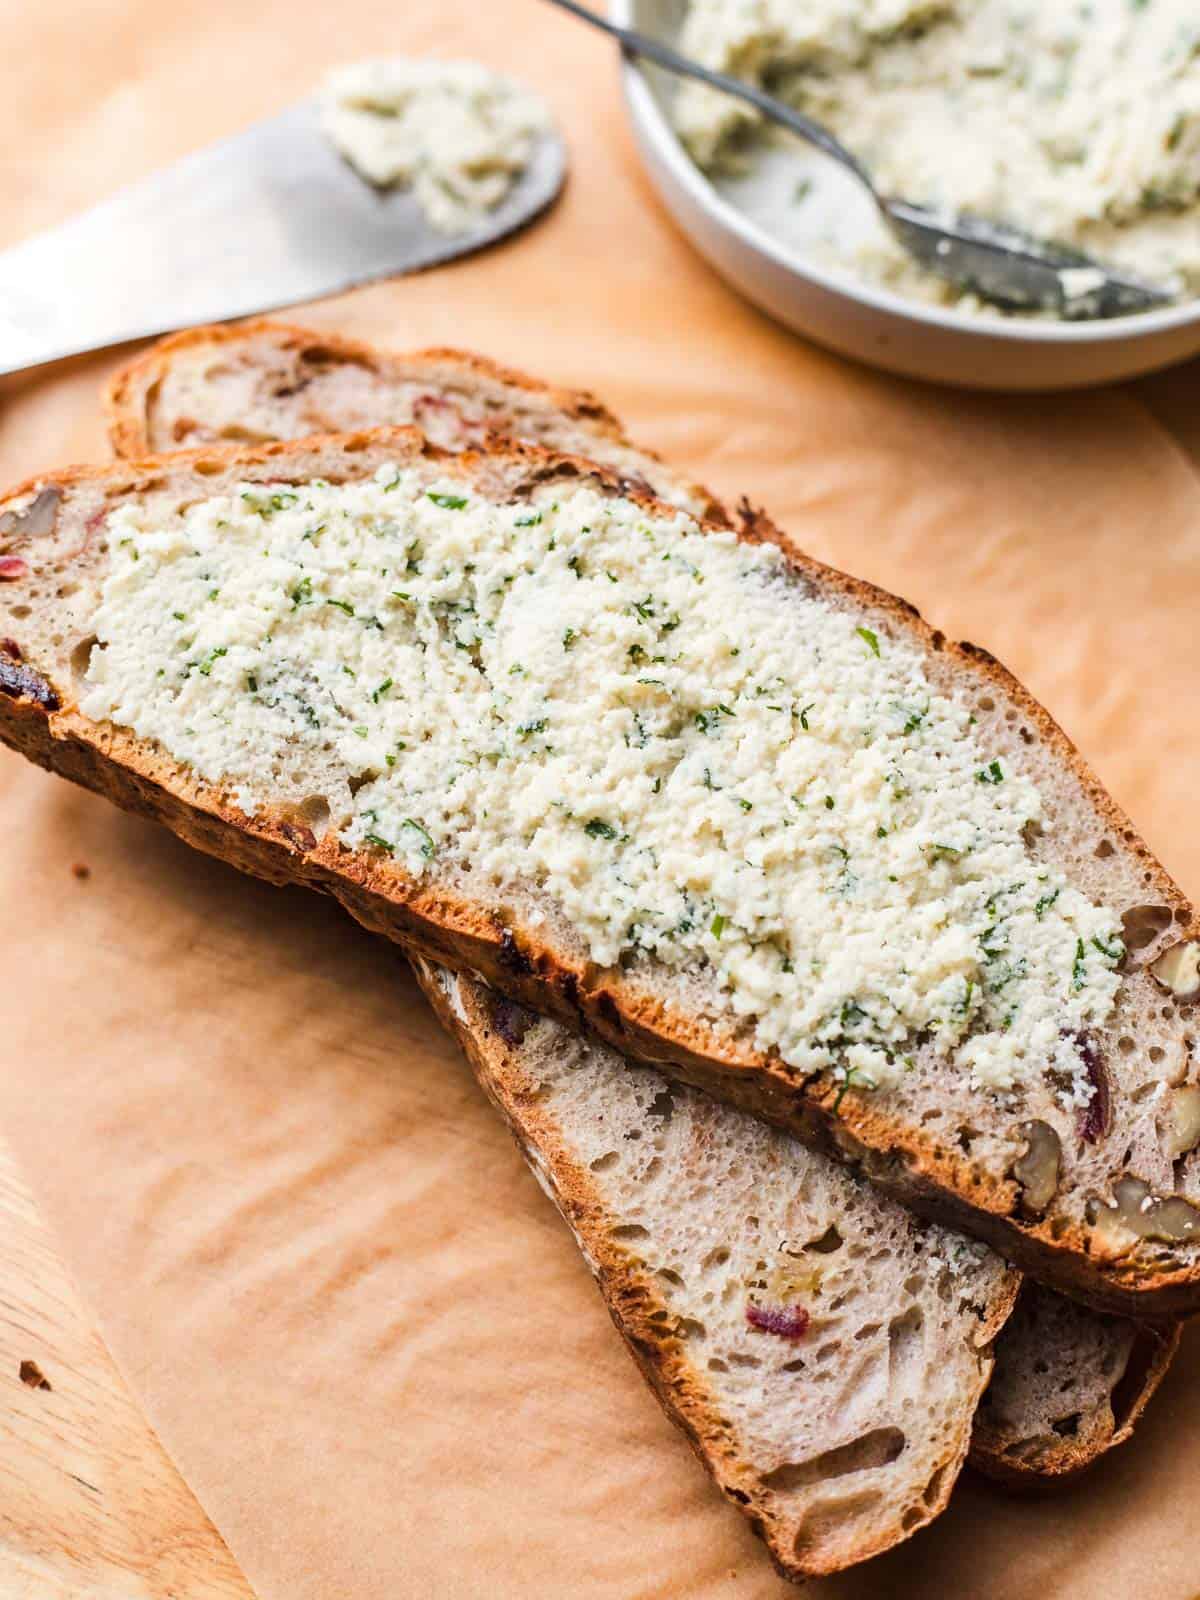
I love it with savory toppings like vegan cream cheese — but it’s just as good with nut butter and mashed berries or jam.
Jump to:
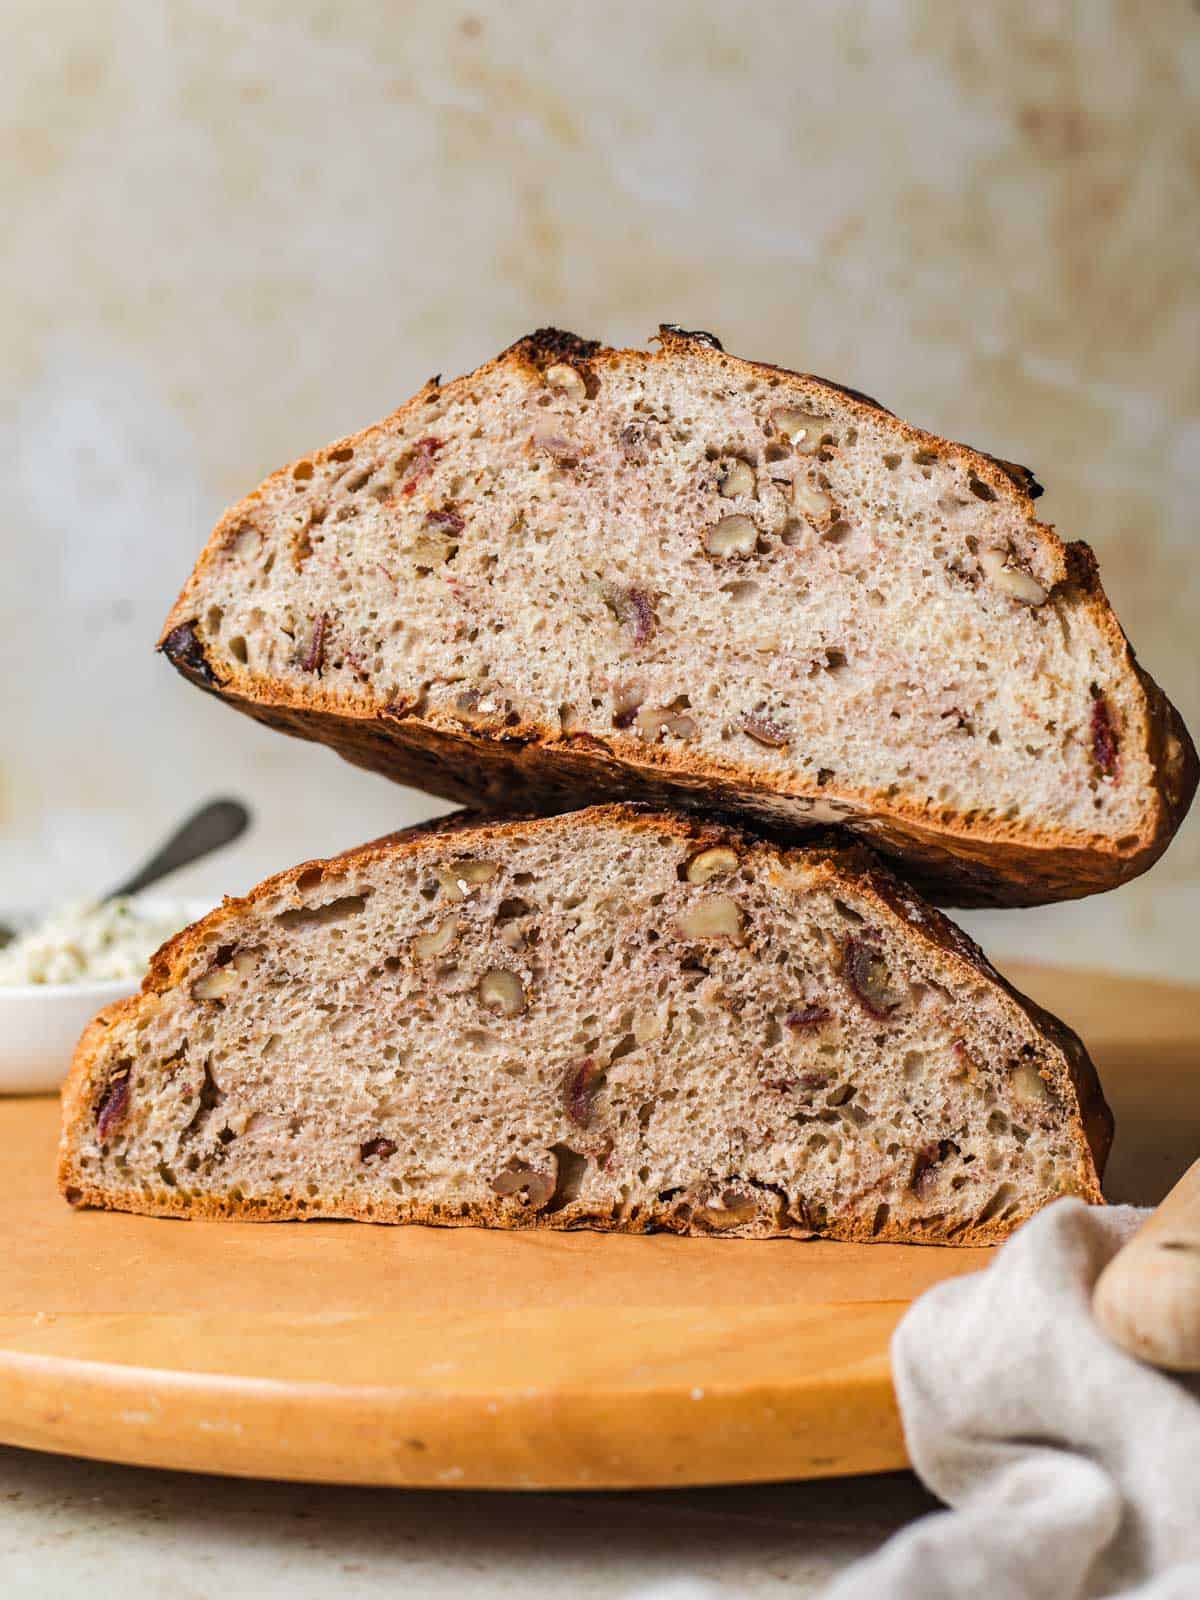
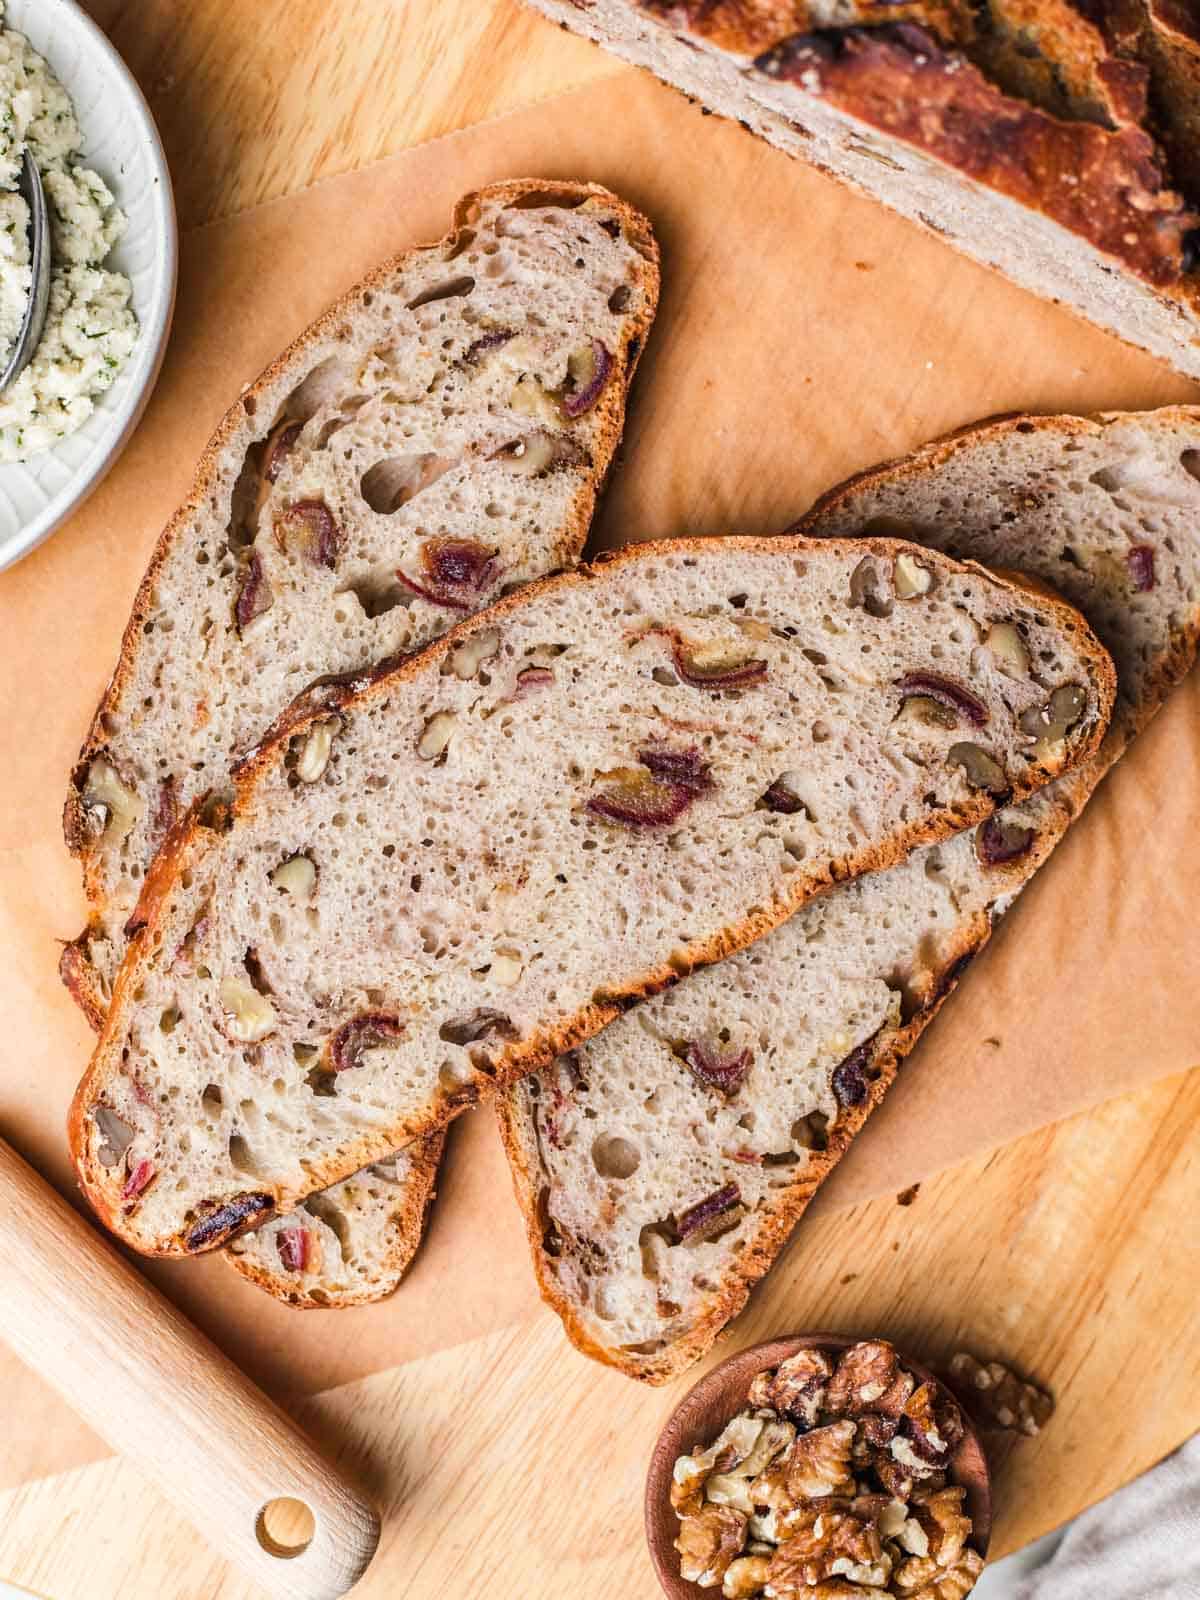
One thing that always disappoints me about bakery fruit-and-nut breads? The “fillings” are often scarce. A lonely walnut here, a tiny date piece there — and that’s it.
Not this loaf. Every slice is generously packed with walnuts and dates. You’ll taste them in every single bite.
Ingredient Notes
- Spelt flour – Use light spelt flour, but you can also substitute bread flour. Whole spelt flour works too, but replace no more than 30% or the bread will become dense.
- Salt – Essential for flavor — don’t reduce.
- Active dry yeast – Make sure it’s mot close to expiration (trust me on this).
- Lukewarm water – Helps activate the yeast.
- Walnuts – For crunch, flavor, and omega-3s. You can omit for nut-free or use seeds instead.
- Dates – Use firmer dried dates (very soft Medjool dates can get sticky). Dried figs also work.
- Maple syrup (optional) – Adds a subtle extra sweetness.
See recipe card for quantities.
Step-By-Step Instructions
Don’t let the number of steps scare you — once you make this crusty date and walnut loaf once, you won’t even need the instructions again.
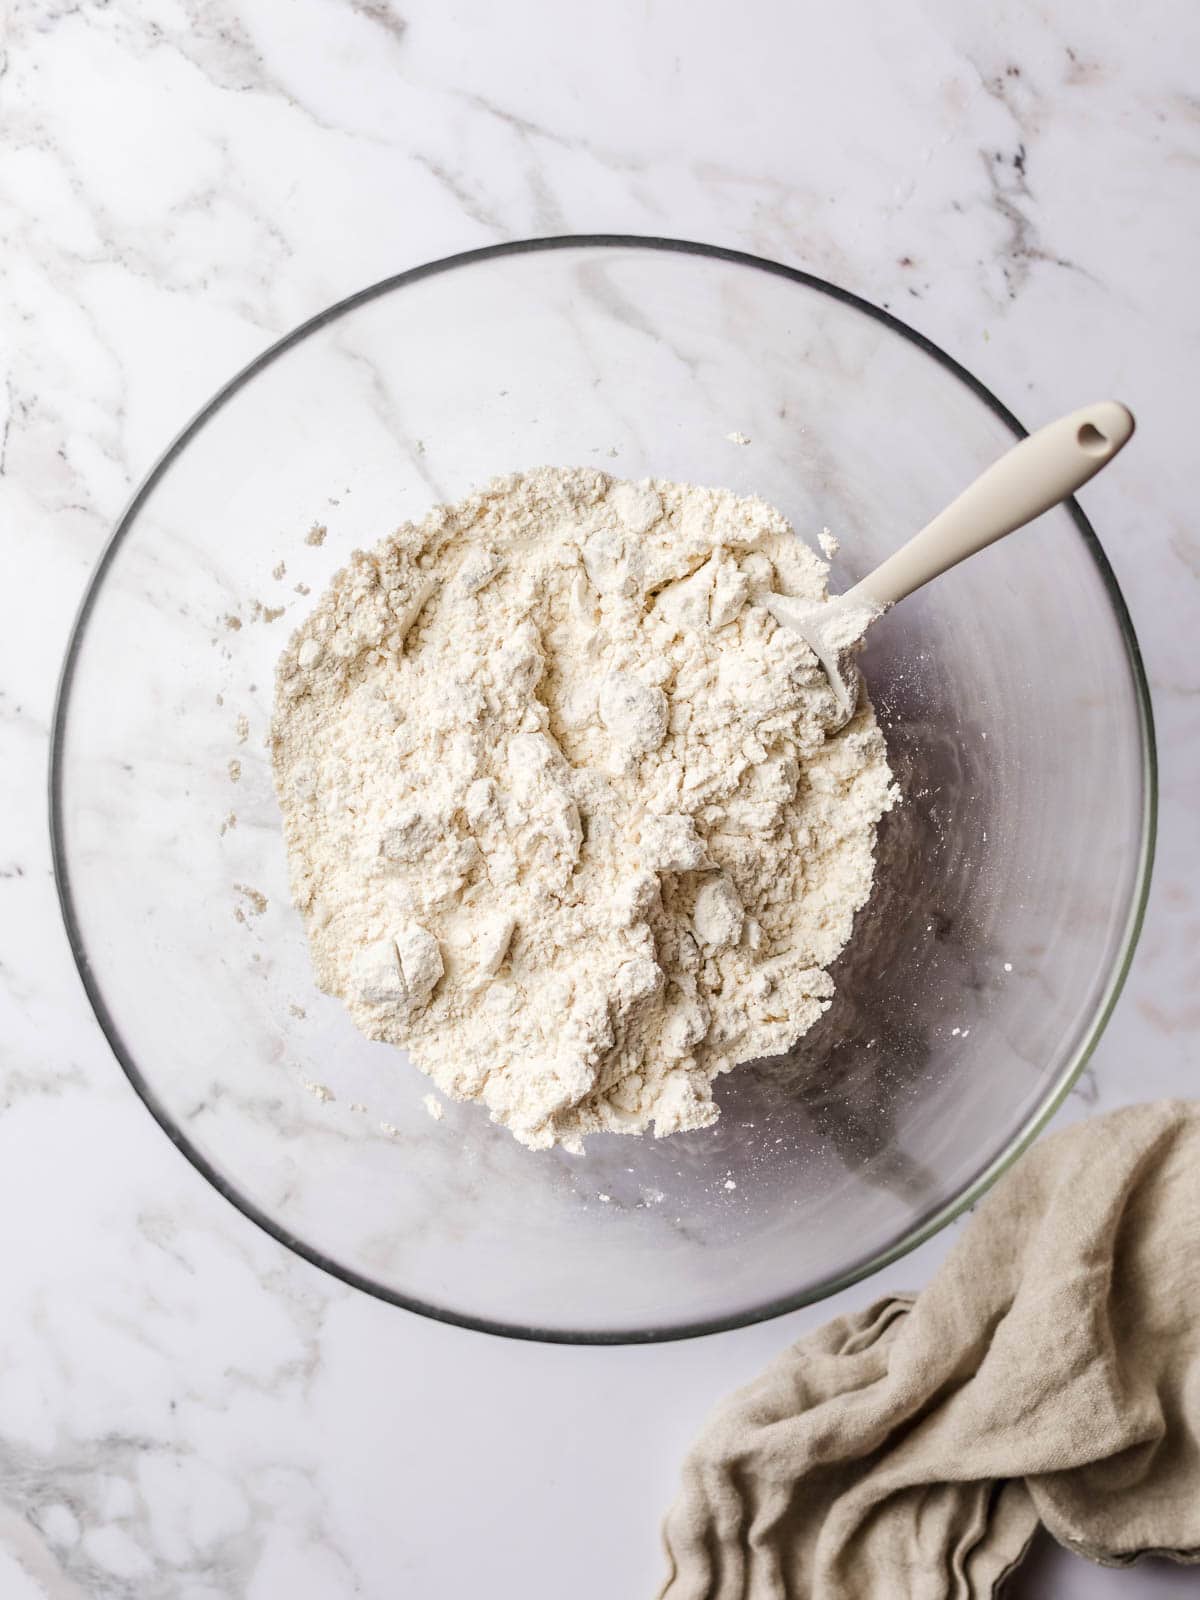
- Step 1: Roughly chop walnuts and dates. Combine with flour, salt, and yeast in a large bowl.
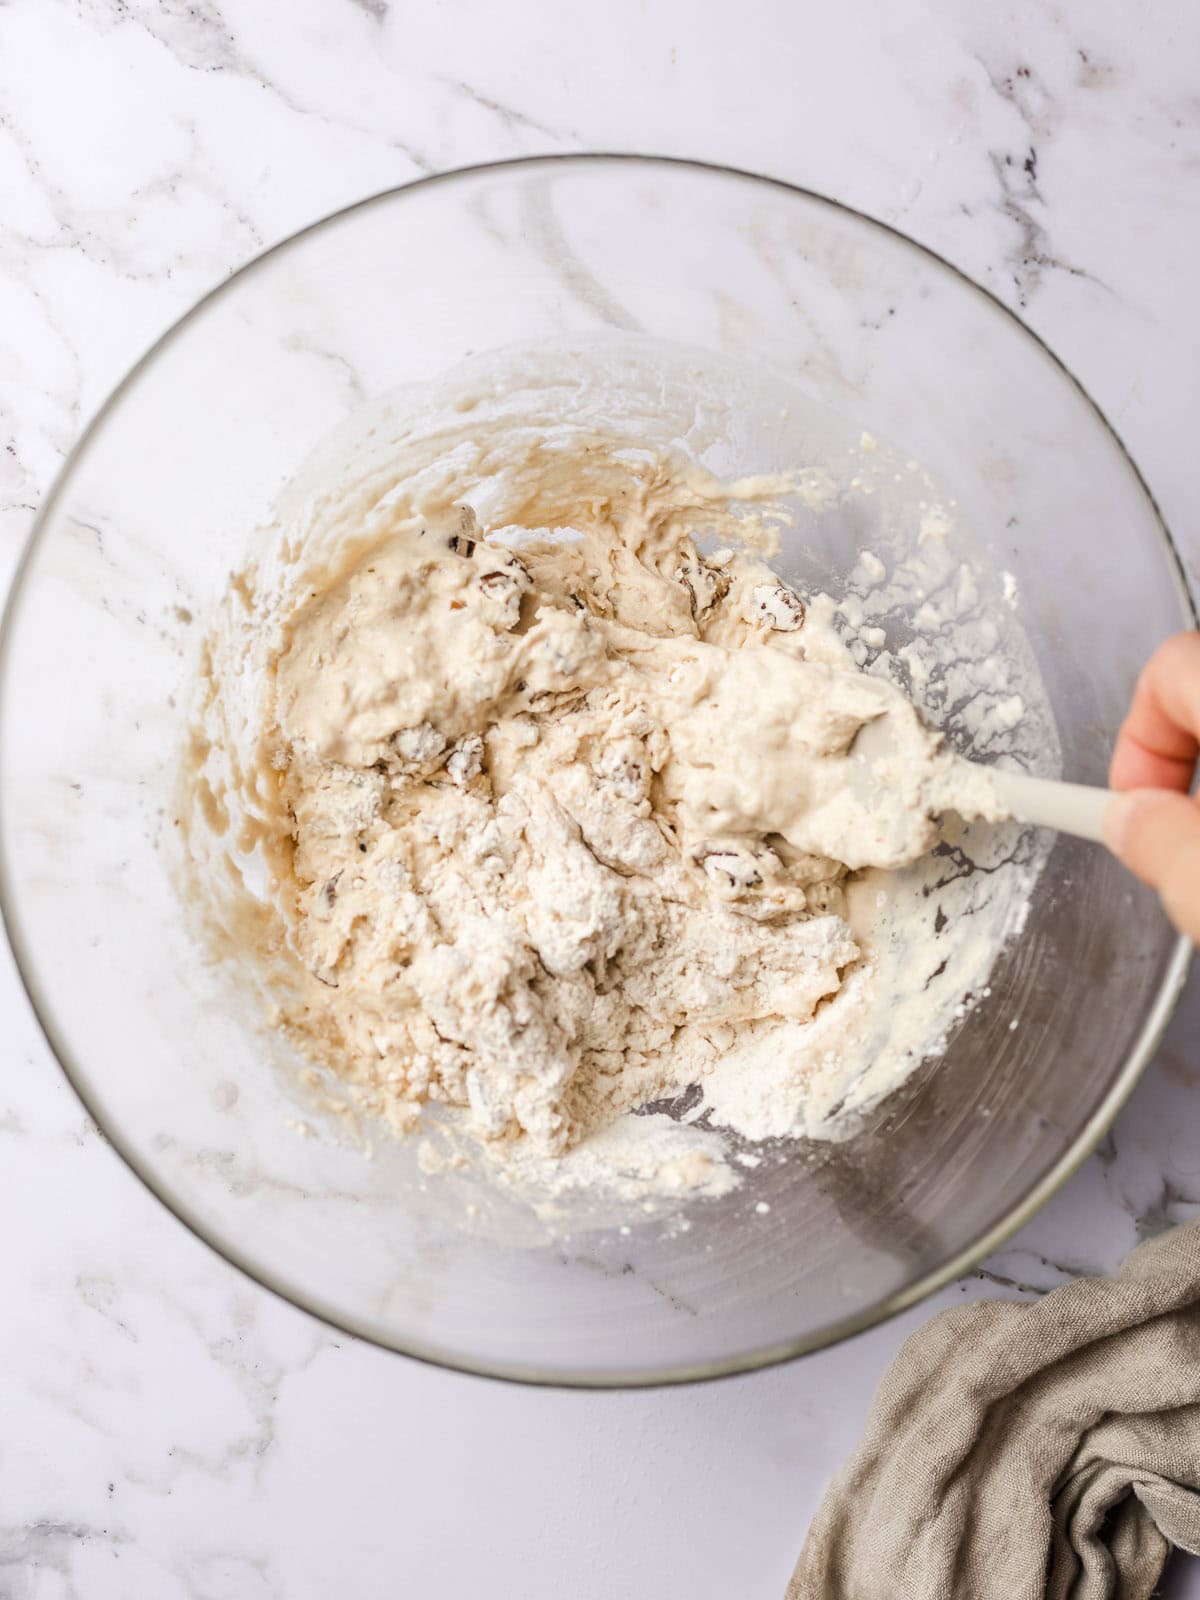
- Step 2: Pour in 1 ¼ cups lukewarm water (300 ml) and stir with a wooden spoon or spatula until a sticky dough forms.
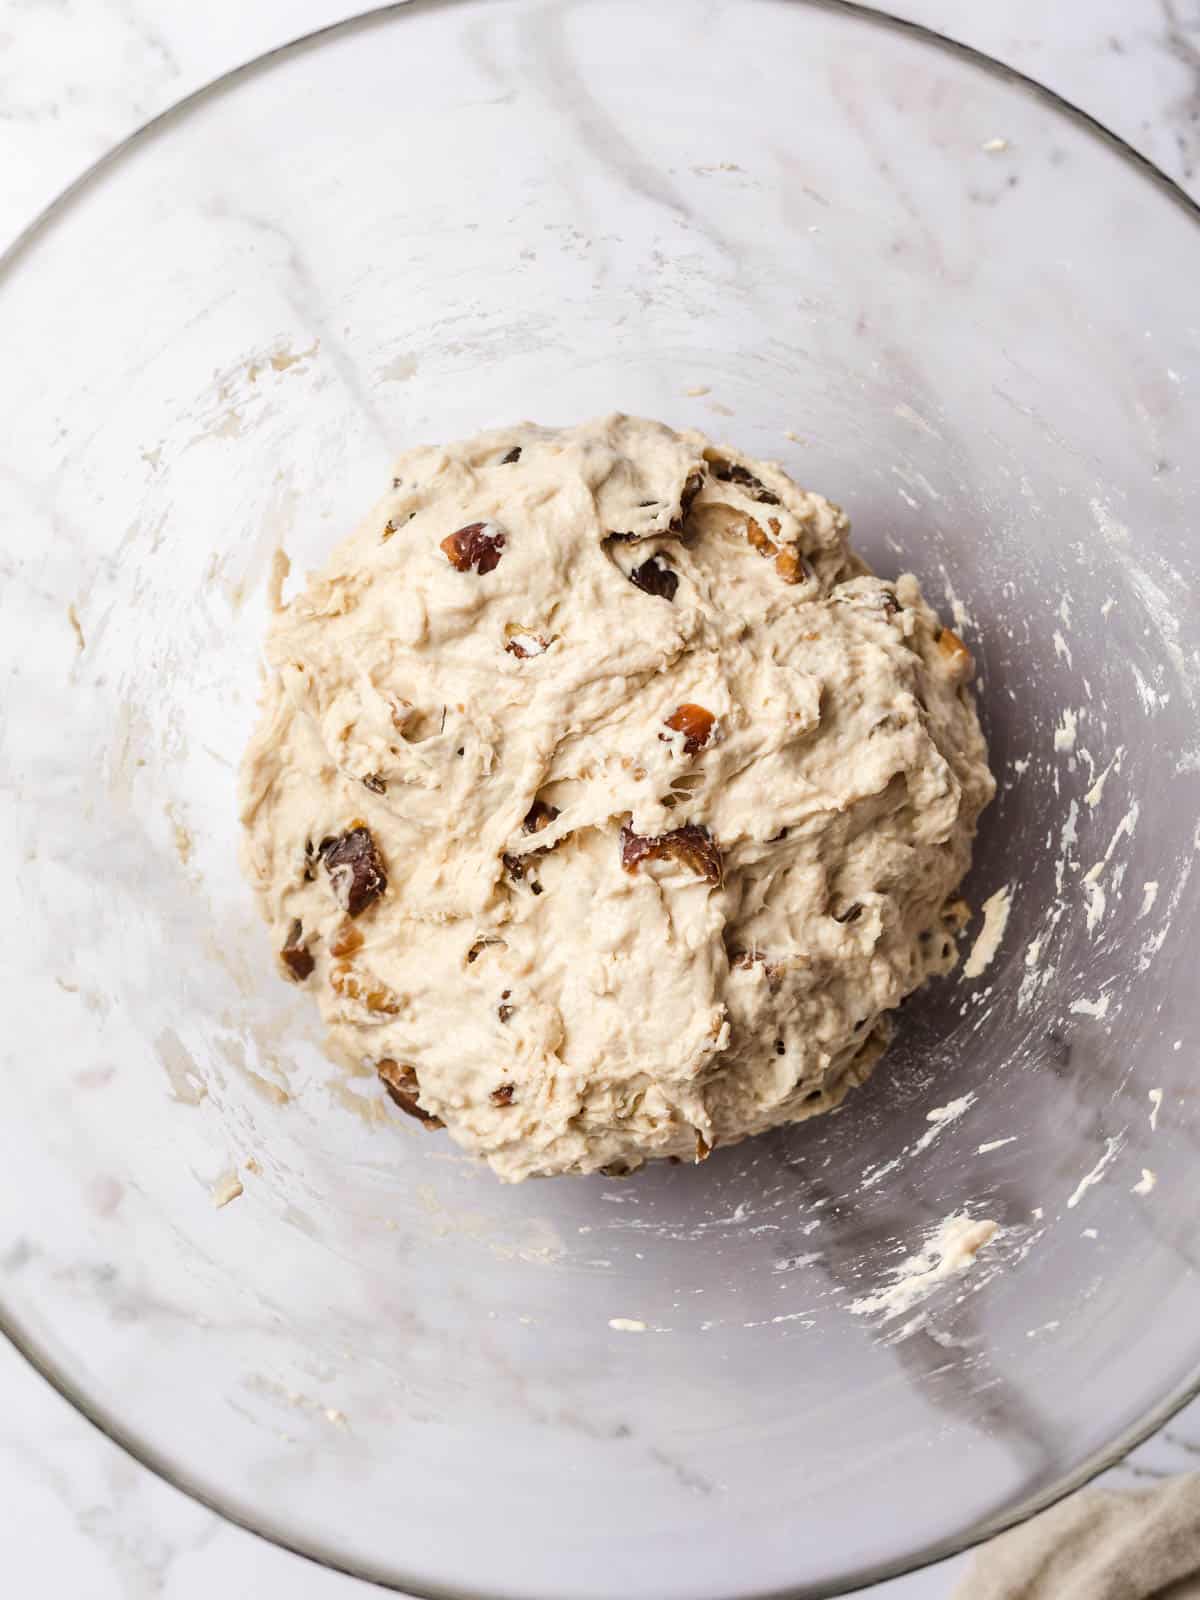
- Step 3: Cover the bowl and let the dough rise at room temperature for 12 hours.
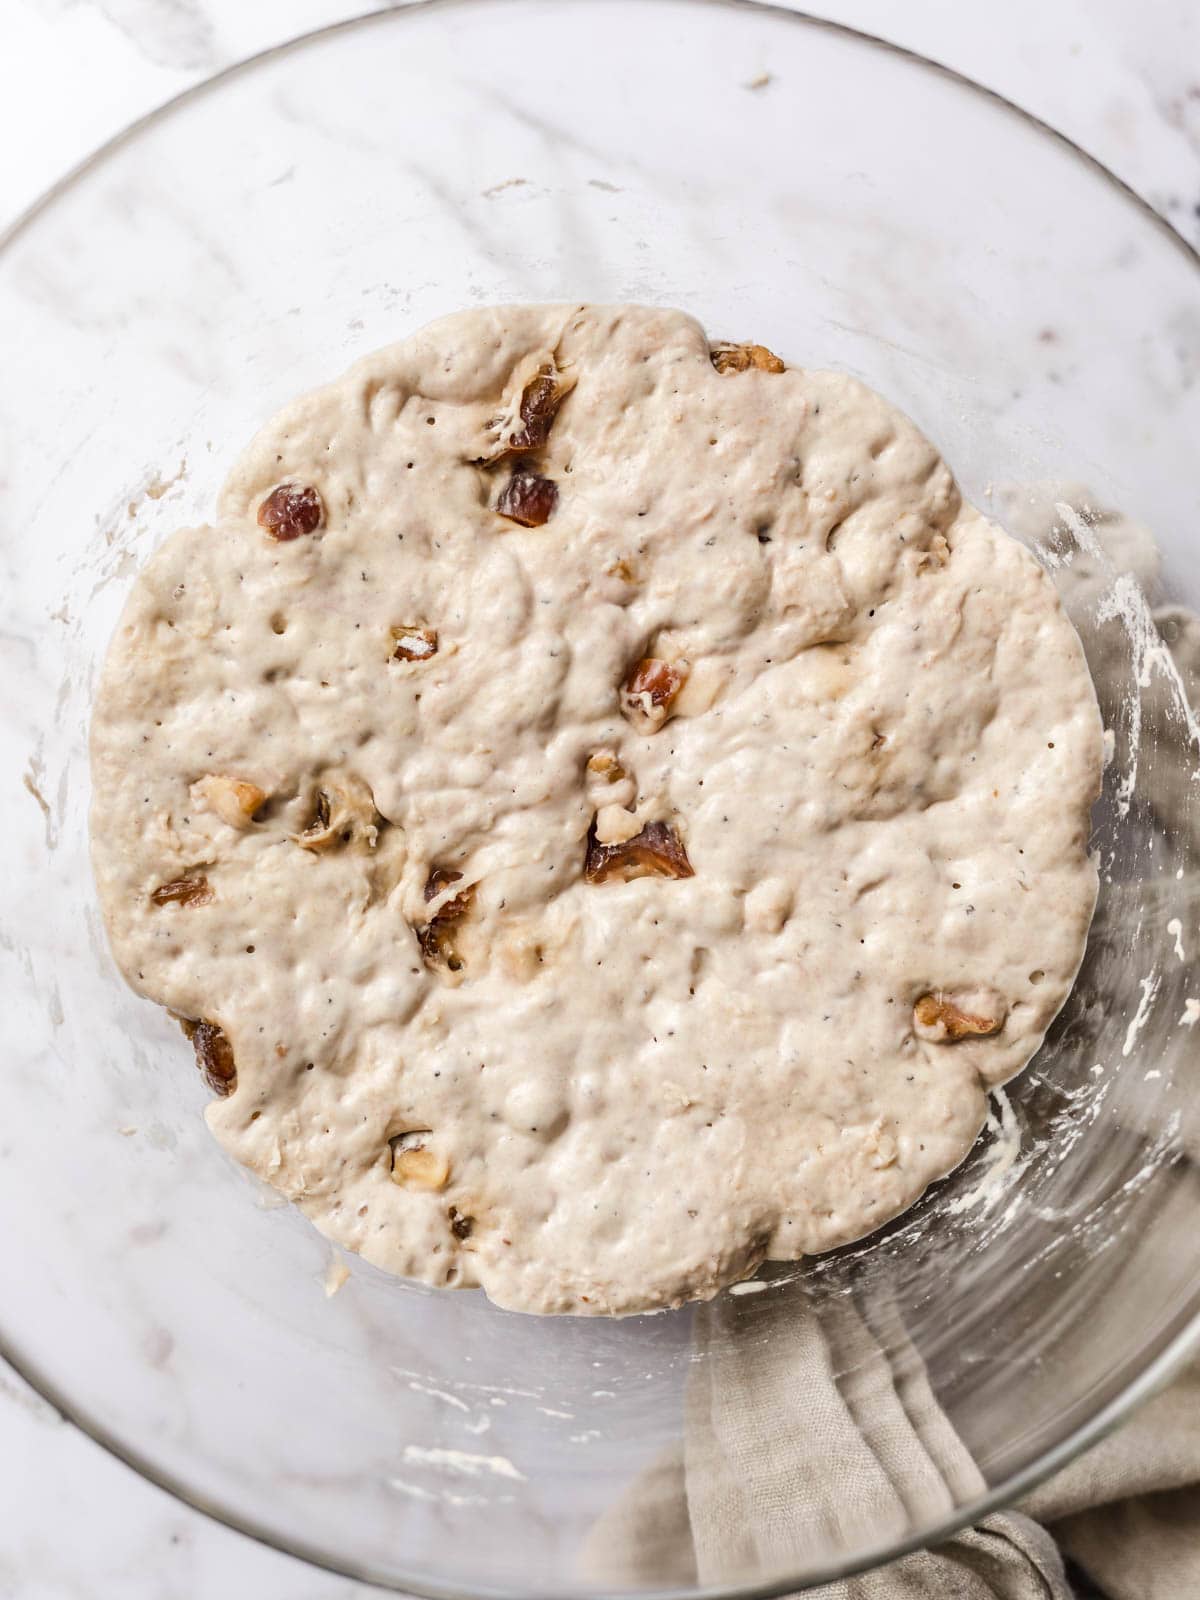
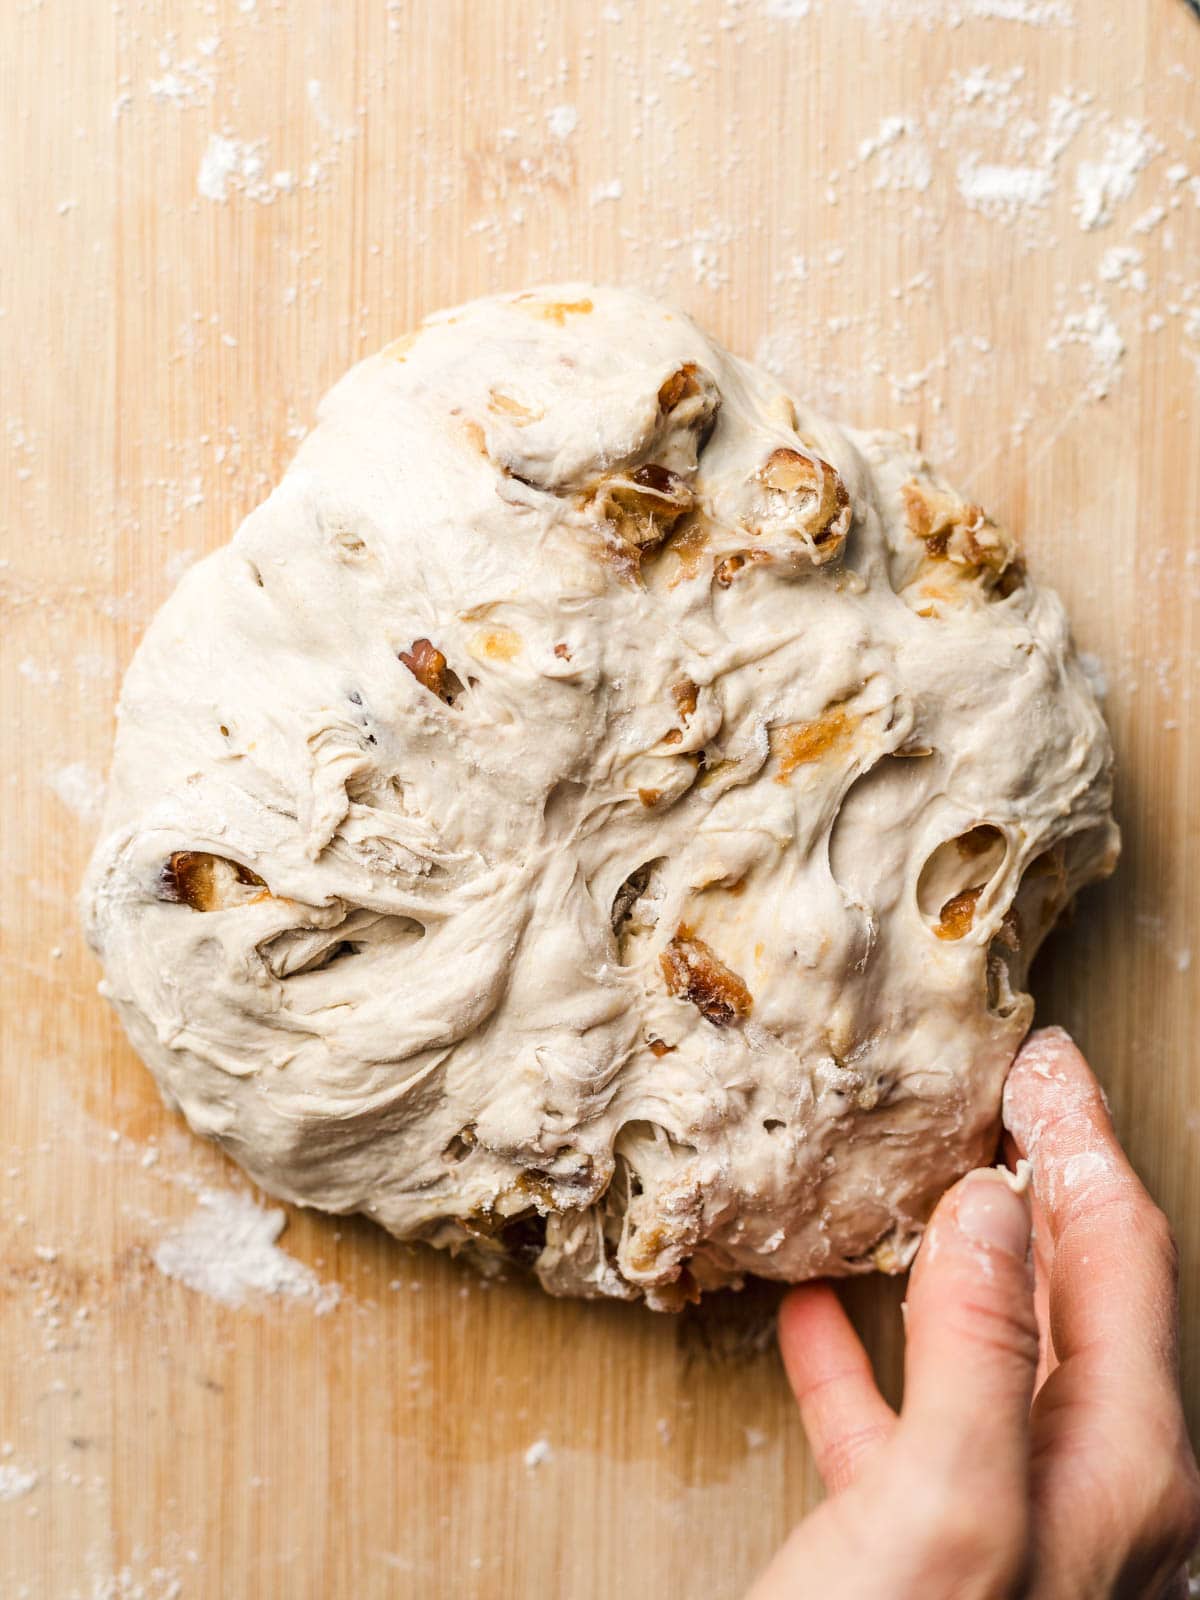
- Step 4: It should look bubbly and airy. Turn the sticky dough onto a well-floured surface.

- Step 5: With floured hands (or a dough scraper), gently stretch one side and fold it over. Repeat on all four sides.

- Step 6: Repeat on all four sides. The dough will be soft and sticky — that’s normal! Avoid adding too much flour.
- Step 7: Shape into a round loaf. Place seam-side down on parchment paper.

- Step 8: Plase in a bowl. Let rise, covered, for another 30 minutes.
Step 9: Preheat oven to 450°F (230°C). Place a heavy Dutch oven (9–10 inches / 22–24 cm diameter) with lid inside to preheat. Carefully place the dough (with parchment) into the hot Dutch oven.
Step 10: Cover and bake for 30 minutes. Remove the lid and bake another 8–14 minutes, until golden brown and crispy. Cool completely on a wire rack before slicing.
Top Tipp!
Use a preheated Dutch oven for the best crust. The trapped steam helps the spealt bread rise beautifully and develop that irresistible crackly crust.
A larger pot will cause the soft dough to spread too much — so aim for 9–10 inches in diameter.
Variations
Here are a couple of ideas to change things up:
- Savory twist: Replace dates with sun-dried tomatoes and add chopped rosemary.
- Nut swap: Try pecans, hazelnuts, almonds, or a mix.
- Nut-free: Use pumpkin or sunflower seeds instead.
- Different fruit: Swap dates for dried cranberries, figs, or apricots.
- Whole grain: Use 70% light spelt + 30% whole spelt for a heartier loaf.
FAQ
Yes, you can replace the spelt flour 1:1 with light wheat flour bread flour. In fact, using wheat flour will make the bread slightly lighter and help it rise even better due to its higher gluten content. Gluten allows the gases produced by the yeast during fermentation to be trapped in the dough. This creates finer, more elastic air pockets — resulting in a taller, fluffier loaf.
Your yeast may be expired or was close to expiring, or the water was too hot or too cold.
It tastes best on the day you bake it. As this is not a sourdough bread, over time, the crust loses its crispness and the crumb becomes drier.
Stored in a bread box, it will keep for about 2–3 days. After that, I recommend slicing it and freezing the slices. Whenever you’re craving fresh bread, simply pop a slice into the toaster.
What to Serve It With
This date and walnut spealt bread is delicious on its own, but here are a few ideas:
- With vegan cheese and warm tofu scramble
- With vegan cream cheese and cucumber
- With peanut butter and mashed raspberries or banana
- Toasted with avocado and tomato jam
- Alongside pumpkin or tomato soup
More Breakfast Recipes


I hope you’ll give this no knead spelt bread recipe with walnuts and dates a try. If you love this recipe, be sure to leave a comment, rate the recipe and tag me on instagram (#veggiejam) with your recreation.
PrintRecipe
No-Knead Spelt Bread with Dates and Walnuts
- Prep Time: 10 min
- Cook Time: 45 min
- Total Time: ~14 hours (including rise)
- Yield: 1 loaf 1x
Description
A crusty loaf with a soft, tender crumb, packed with walnuts and sweet dates — this no-knead date walnut bread made with spelt flour is wonderfully simple, requires zero kneading, and is perfect for a cozy weekend breakfast.
Ingredients
-
- 3 ¼ cups (400 g) light spelt flour or bread flour
- 2 tsp (10 g) salt
- 1 tsp (5 g) active dry yeast
- ½ cup (60 g) chopped walnuts
- ⅔ cup (100 g) chopped dates
- 1 ¼ cups (300 ml) lukewarm water
- 1 tbsp maple syrup (optional)
Instructions
- In a large mixing bowl, combine the chopped walnuts and dates with the flour, yeast, and salt. Mix well so everything is evenly distributed.
- Add the lukewarm water (and maple syrup, if using). Stir with a wooden spoon or silicone spatula until a soft, sticky dough forms and no dry flour remains. The dough will be quite moist — that’s exactly how it should be.
- Cover the bowl with a clean kitchen towel and let the dough rise at room temperature for 12 hours. After this time, the dough should have noticeably increased in volume, look airy, and show small bubbles on the surface.
- Lightly flour your work surface. Using a dough scraper if needed, gently transfer the sticky dough onto the floured surface.
- With well-floured hands or the dough scraper, stretch one side of the dough upward and fold it over to the opposite side. Rotate the dough slightly and repeat this stretching and folding process on all four sides.
- Shape the dough into a round loaf. Using the dough scraper, carefully flip it over so the seam side is facing down. Place the dough onto a piece of parchment paper.
- Tansfer the dough (along with the parchment paper) into a bowl and cover it again. Let it rise for another 30–45 minutes at room temperature.
- Meanwhile, preheat your oven to 450°F (230°C). Place a heavy Dutch oven with lid (about 9–10 inches / 22–24 cm in diameter) into the oven while it preheats so it becomes thoroughly hot.
- Carefully remove the hot Dutch oven from the oven using oven mitts. Lift the dough using the parchment paper and place it directly into the hot pot. If desired, score the top of the loaf with a sharp knife or kitchen scissors. Cover with the lid and return it to the oven.
- Bke for 30 minutes with the lid on. Then remove the lid and bake for another 8–14 minutes, until the crust is deep golden brown and crisp.
- Remove the bread from the Dutch oven and let it cool completely on a wire rack before slicing.
This post is also available in German (Deutsch).


Comments
No Comments