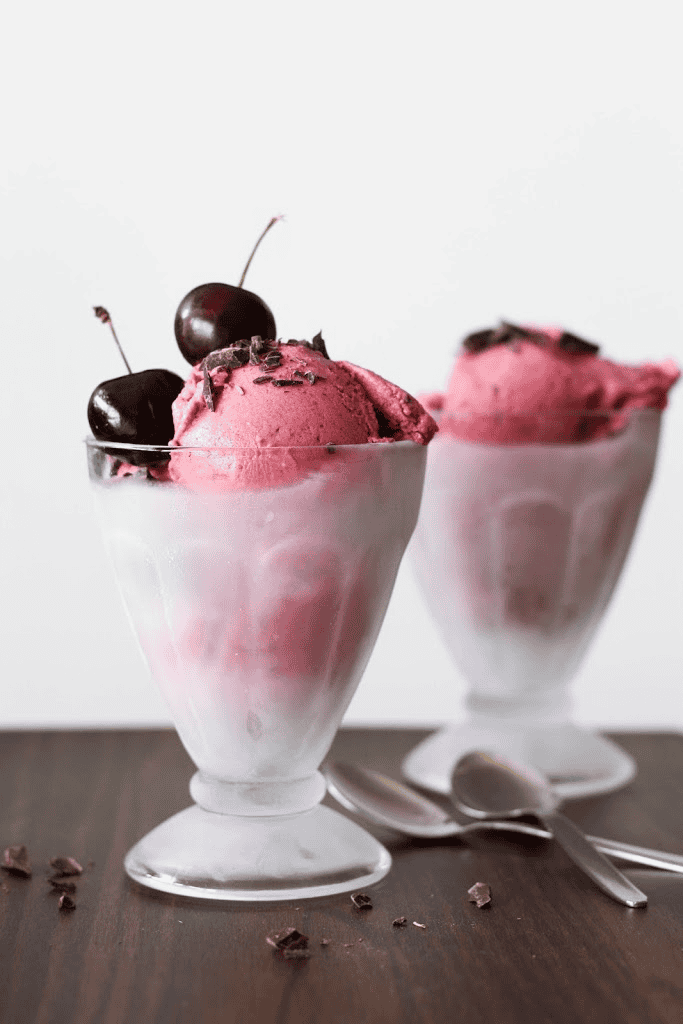
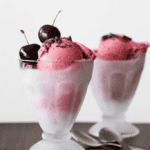
This fruity and creamy vegan cherry ice cream with chocolate chunks is naturally sweetened and requires just a few ingredients.
What do you associate with summer? Sunshine? The beach? I immediately think of a big serving of lucious, creamy ice cream. Luckily, you don't need to head out to the next ice cream store or truck in the summer heat as you can easily make your own ice cream at home!
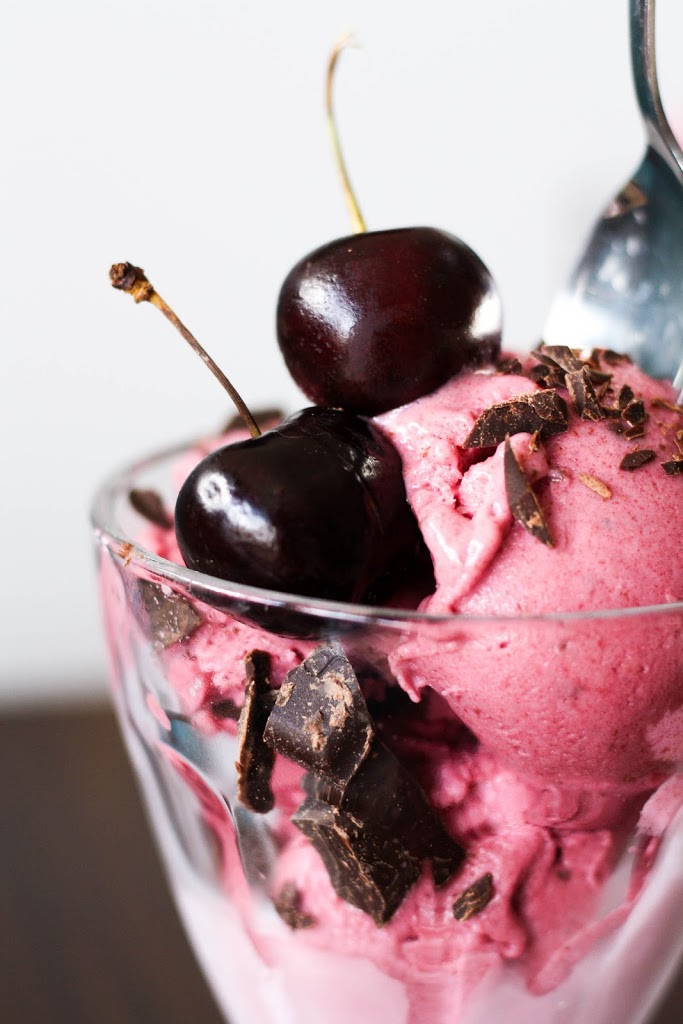
This fruity vegan cherry ice cream with chocolate chunks is sweetened only with fruits - jep, no added sugars in this homemade vegan ice cream. It is super creamy, rich and absolutely delicious. Add a few vegan chocolate chunks for that great crunch.

The Ingredients
- Coconut milk - Forms the creamy base. Other vegan milk alternatives won't work in this recipe, unfortunately, as they lack the necessary level of richness.
- Dates - Deliver the natural sweeteness. Choose soft dates as they are easier to blend.
- Frozen cherries - You can also use fresh, pitted cherries.
- Guar gum - A natural thickener that helps to increase the viscosity of the ice cream. I haven't tried it myself, but I am sure you can omit it if you can't find any.
- Vanilla - Vanilla pairs really well with the fruityness of the cherries and adds a depth of flavour. I recommend using a fresh vanilla bean for the most authentic taste.
- Dark chocolate - Cherries and chocolate is a match made in heaven. Plus the chunks add a wonderful crunch. If you want to keep the ice cream completely sugar-free leave the chocolate out or choose a sugar-free alternative.
Top Tips
- If you don't have a high-speed blender, use fresh, pitted cherries instead of frozen fruit. You can also use an immersion blender, it will probably take a littler longer to get it all smooth. Also, if your dates are not soft, soak them for 30-60 min in hot water prior to blending everything together.
- Guar gum is a thickener, which you can find in whole foods stores or online.
- If you are used to or prefer very sweet ice cream, I would suggest you add a little extra sweetener like agave syrup or maple syrup.
- Choose a coconut milk that doesn't contain any non-pronouncable ingredients and thickeners. Make sure it's the full fat kind.
- No ice cream maker? No problem! You can blend all the ingredients as described, add the cream to a casserole dish, cover it and place it in the freezer. Now, take it out every 30 min and stir, starting from the edges (that's where it starts to freeze first). Repeat this step until you reach the desired consistency. This process is quite elaborate but this way you avoid the formation of ice crystals.

FAQ
You can also make this ice cream recipe without an ice cream make. You can find instruction below the recipe card.
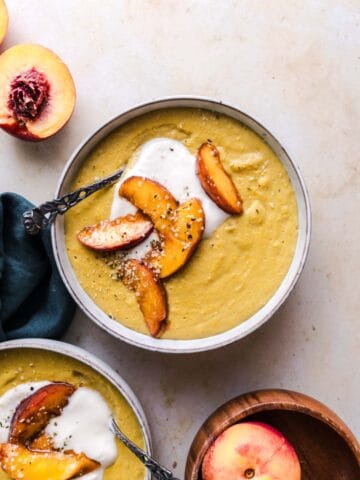
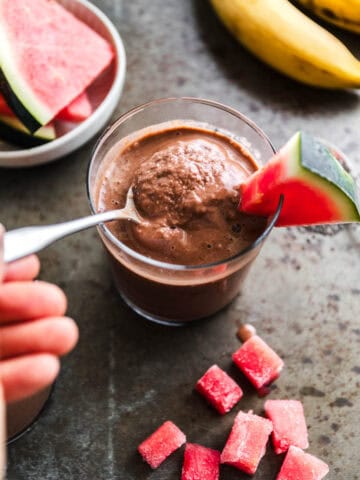
Absolutely! Go for mango, berries or peaches, for example. Make sure to use ripe fruits if chosing fresh.
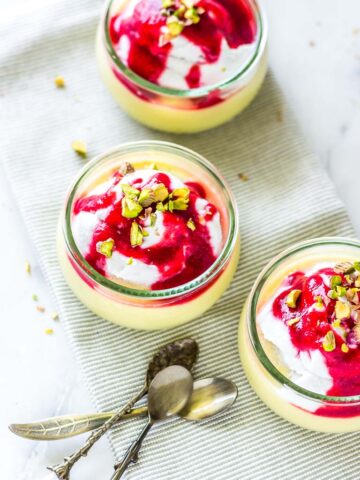
Related Recipes
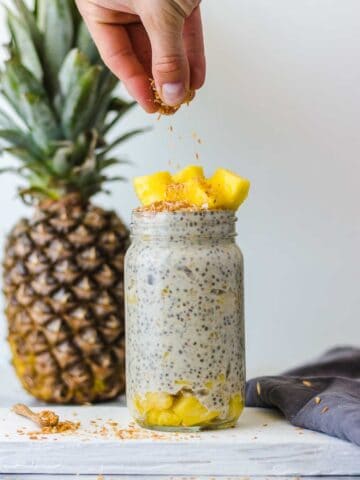
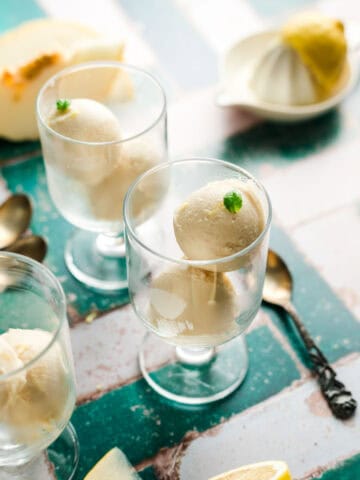
Here is a selection of other sweet summer dishes you may enjoy:
I hope you’ll give this healthy vegan cherry ice cream recipe a try. If you love this recipe, be sure to leave a comment, rate the recipe and tag me on instagram (#veggiejam) with your recreation.
PrintRecipe
Naturally Sweetened Vegan Cherry Ice Cream
- Prep Time: 30 minutes
- Freeze time: 120 minutes
- Total Time: 150 minutes
- Yield: 750 ml 1x
Description
This fruity and creamy vegan cherry ice cream with chocolate chunks is naturally sweetened and requires just a few ingredients.
Ingredients
- 1 can coconut milk (400 ml)
- 1 cup soft dates (150 g)
- 1 ½ cup frozen cherries (200 g)
- 1 tsp guar gum
- 1 vanilla bean, scraped
- 1.4 - 1.75 ounces dark chocolate, chopped (40-50 g)
- 2-3 tablespoon liquid sweetener (optional)
Instructions
- Combine all ingredients except for the chocolate in a blender and blend until creamy.
- Pour the cream into a pre-cooled ice cream maker and churn for about 30 min (see manufacturer's instructions).
- Afterwards, pour the ice cream into a casserole dish, add chopped chocolate and stir.
- Cover the dish with foil and place in the freezer for 1-2 hrs.
- Serve the ice cream in pre-cooled glasses or waffle cones and enjoy!
Notes
No ice cream maker? No problem!
- Blend all the ingredients as described.
- Add the cream to a casserole dish, cover it and place it in the freezer.
- Take it out every 30 min and stir, starting from the edges (that's where it starts to freeze first).
- Repeat this step until you reach the desired consistency.
This process is quite elaborate but this way you avoid the formation of ice crystals and you end up with a creamy texture.
This post is also available in de_DE.
Comments
No Comments